Pinch pots animals
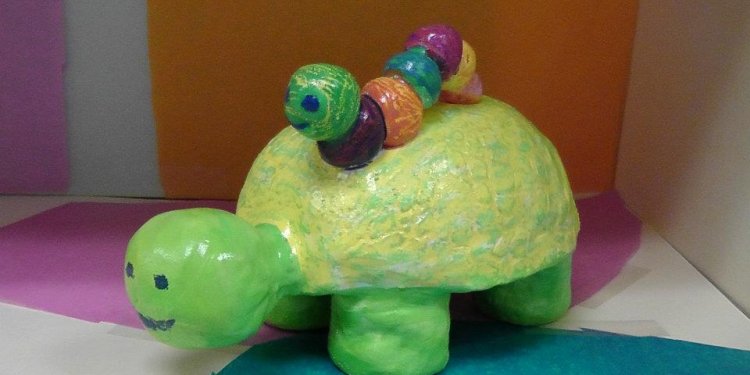
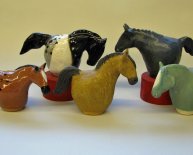
 I start a new residency tomorrow but I thought I would show you one of my last clay projects, animal pinch pots with Grade 3.
Sorry for some of the photo quality but the school lighting is always a challenge.
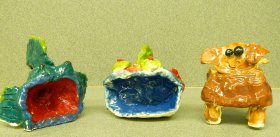
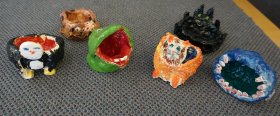
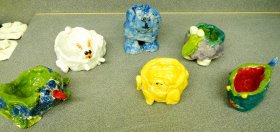
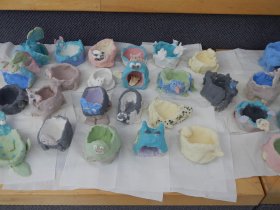
Each child chose their favourite animal. Some had their pots up on legs, some had the pot on it's side having a large mouth. It was great to see all the different versions.MATERIALS REQUIRED:
- clay, air dry if you do not have access to a kiln
- nail (for cutting), wooden skewer(for scratching and details), small cup of water
- cloth placemat or paper towel
- coloured glaze if using a kiln, acrylic paint if using air dry
- reference photos of animals if needed
PROCEDURE:
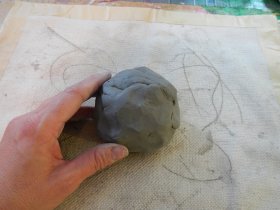
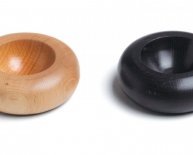
Take a lump of clay about the size of an orange. You will be working on your cloth placemat or paper towel.Using your thumbs push into the centre of the lump. Start to form a pot.
Push down on the bottom to help spread the pot out. Continue to form a nice shape. You don't want it to be thicker than an inch on the sides or bottom.
You also don't want it to be too thin.
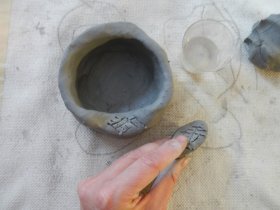
Dip your finger into the water and rub along the rim on your pot. Make a nice edge.Smooth the sides as well.
For this pot I'm adding a head to the front.
 I take some more clay and form a nice head shape. I keep it flat like a cookie so that my pot does not get too thick and then won't dry out.
To 'glue' clay to clay I make little scratches on the 2 surfaces.
Dip your finger in water and add some to the scratches.
Attach head. Using the wooden skewer and add detail to the face.
Add some newspaper to the pot to help it keep it's shape when drying.
Add arms and legs. Remember to 'scratch, scratch, water, water'.
 In my pot I made my arms and legs flat and attached up against the pot. If you are adding legs to hold up the pot make sure they are short and stubby. No giraffes here.
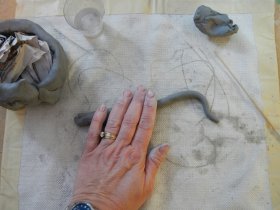
To make a long tail you can roll a snake.
I then added it flat to the pot.
A short stubby tail could stick out but no long tails as they would just break off, better to attach to the side of the pot.
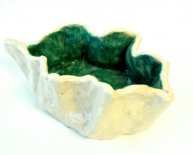
When you have finished sculpting, set pot aside to dry. Drape with garbage bags or plastic tablecloths for 2 days to equalize. Uncover and then let clay fully dry out, about 11-12 days.
Here is some of the clay at my last residency drying out. When the clay has dried do a bisque fire.
When the clay has been fired and cooled you can glaze. Finish with a glaze fire.
Share this article
Related Posts
Latest Posts


