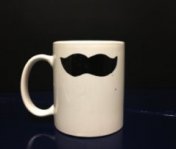
How to make a Ceramic cup?
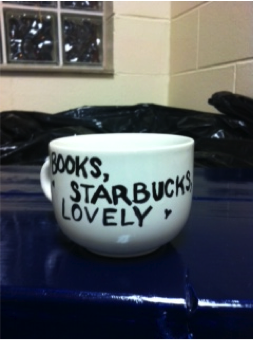
 This one actually held up well through all the tests! However, from others’ and my experience, it seems regular Sharpie does fade over time. I’d stick to hand washing on this one for long-lasting results.
Method #2:
- Sharpie marker
- White mug
- Acrylic sealing spray (ACSS)
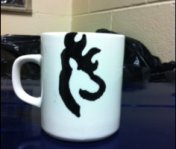
As you can see, the ACSS reacted kind of funny with the regular Sharpie, causing some of the bottom to smear. I wouldn’t recommend this method.
Method #3:
- Oil-based paint Sharpie marker
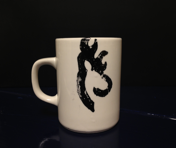
 This method had the worst results. It started chipping almost immediately even with light hand washing. I don’t recommend this method.
Method #4:
The winner!!! The ACSS worked very well with the oil-based paint Sharpie and the design didn’t fade a bit even after dishwashing. With the protective sealant, mugs designed with this method should hopefully last a long time.
Now YOU try it!
Method #4 Instructions:
I did two layers of Oil-based paint Sharpie and let it dry for two hours.
 Then I placed the mug in a cool oven and let it heat with the oven to 350 degrees. Let the mug bake for 30 minutes, turn the oven off and let it cool, then do the whole baking process a second time. Firing twice can help the Sharpie design set a little better. Also, it’s critical that you let the mug heat up and cool down with the oven so the ceramic doesn’t crack!
Take the mug out of the oven and allow it to dry completely. I happened to let the mug sit overnight, but I’m sure you could just give it a couple hours. Don’t touch the Oil-based paint Sharpie design while it’s still hot or it will smear!
After the mug completely cooled and dried, I sprayed two coats of the ACSS (I used the Krylon brand that said “moisture-resistant” from Hobby Lobby). Then it needed to dry for another two hours.
Here’s how the mugs looked after hand-washing:
Then the real test: the dishwasher.
Conclusion: If you’re able to get Acrylic Sealing Spray, use that with Oil-based paint Sharpies. Otherwise, go with just regular Sharpies and realize that you shouldn’t get too emotionally attached. It will tend to fade over time.

Share this article
Related Posts
Latest Posts


